必要组件

  • nfs-csi
  • postgres
  • redis

安装必要组件

安装 nfs-csi

安装 nfs-server

yum install -y nfs-utils  # 所有机器都要安装,nfs-server 机器启动服务
mkdir -p /data/ 

vi /etc/exports
/data/ 10.2x.0.0/16(rw,sync,no_subtree_check,no_root_squash)

systemctl start nfs-server.service 
systemctl enable nfs-server.service  

exportfs

依赖镜像

docker pull k8s.m.daocloud.io/sig-storage/nfs-subdir-external-provisioner:v4.0.2

安装 nfs-csi 工作负载

helm repo add csi-driver-nfs https://raw.githubusercontent.com/kubernetes-csi/csi-driver-nfs/master/charts

helm install csi-driver-nfs csi-driver-nfs/csi-driver-nfs --version v4.7.0 --set image.nfs.repository=k8s.m.daocloud.io/sig-storage/nfsplugin --set image.csiProvisioner.repository=k8s.m.daocloud.io/sig-storage/csi-provisioner --set image.livenessProbe.repository=k8s.m.daocloud.io/sig-storage/livenessprobe --set image.nodeDriverRegistrar.repository=k8s.m.daocloud.io/sig-storage/csi-node-driver-registrar --set image.csiSnapshotter.repository=k8s.m.daocloud.io/sig-storage/csi-snapshotter --set image.externalSnapshotter.repository=k8s.m.daocloud.io/sig-storage/snapshot-controller --set externalSnapshotter.enabled=true

创建 storageclass

cat sc.yaml  # 当有多个 nfs-server 时,创建新的 sc 并指定ip:path 即可,这点比 nfs-subdir 方便不少
apiVersion: storage.k8s.io/v1
kind: StorageClass
metadata:
  name: nfs-csi
  annotations:
    storageclass.kpanda.io/allow-volume-expansion: "true"
    storageclass.kpanda.io/support-snapshot: "true"
    storageclass.kubernetes.io/is-default-class: "true"  # 按需是否默认吧
provisioner: nfs.csi.k8s.io
parameters:
  server: 10.x.x.x # 前面所创建的 nfs-server 地址
  share: /data
  # csi.storage.k8s.io/provisioner-secret is only needed for providing mountOptions in DeleteVolume
  # csi.storage.k8s.io/provisioner-secret-name: "mount-options"
  # csi.storage.k8s.io/provisioner-secret-namespace: "default"
reclaimPolicy: Delete
volumeBindingMode: Immediate
mountOptions:
  - nfsvers=3

创建 pvc、并验证 snapshot

# 创建 pvc
[root@node-1 ~]# cat nfs-pvc-test.yaml
kind: PersistentVolumeClaim
apiVersion: v1
metadata:
  name: test-claim
spec:
  storageClassName: nfs-csi
  accessModes:
    - ReadWriteMany
  resources:
    requests:
      storage: 1Mi
      
# 检查
kubectl get pvc
NAME         STATUS   VOLUME                                     CAPACITY   ACCESS MODES   STORAGECLASS   AGE
test-claim   Bound    pvc-7d845fd1-a70b-46e6-8eed-b59a0230740c   1Mi        RWX            nfs-csi        3s

# 检查 storgaeclass
kubectl get sc
NAME      PROVISIONER      RECLAIMPOLICY   VOLUMEBINDINGMODE   ALLOWVOLUMEEXPANSION   AGE
nfs-csi   nfs.csi.k8s.io   Delete          Immediate           false                  8m26s
 
# 检查 csidriver
kubectl get csidrivers.storage.k8s.io
NAME             ATTACHREQUIRED   PODINFOONMOUNT   STORAGECAPACITY   TOKENREQUESTS   REQUIRESREPUBLISH   MODES        AGE
nfs.csi.k8s.io   false            false            false             <unset>         false               Persistent   25m
 
# snapshot 编排文件
cat nfs-csi-snapshot.yaml
---
apiVersion: snapshot.storage.k8s.io/v1
kind: VolumeSnapshotClass
metadata:
  name: csi-nfs-snapclass
driver: nfs.csi.k8s.io
deletionPolicy: Delete
---
apiVersion: snapshot.storage.k8s.io/v1
kind: VolumeSnapshot
metadata:
  name: test-nfs-snapshot
spec:
  volumeSnapshotClassName: csi-nfs-snapclass
  source:
    persistentVolumeClaimName: test-claim-csi
 
# 创建 snapshot
kubectl apply -f nfs-csi-snapshot-pvc-test-claim-csi.yaml
volumesnapshot.snapshot.storage.k8s.io/test-nfs-snapshot created

# 检查 volumesnapshot
kubectl get volumesnapshot
NAME                READYTOUSE   SOURCEPVC        SOURCESNAPSHOTCONTENT   RESTORESIZE   SNAPSHOTCLASS       SNAPSHOTCONTENT                                    CREATIONTIME   AGE
test-nfs-snapshot   true         test-claim-csi                           105           csi-nfs-snapclass   snapcontent-462e5866-3c10-4201-8c5b-c3e5fd68af3b   13s            13s

# 到 nfs-server /data/ 目录下检查
cd /data/ && ll
total 0
drwxrwxrwx. 2 root root 21 May  9 15:30 default-test-claim-pvc-372c6ee4-c2fa-41e5-9e7d-a7b18e7c6efc
drwxrwxrwx. 2 root root  6 May  9 15:34 default-test-claim2-pvc-88fe2a10-60b6-47c6-b77a-b07cbe7e001e
drwxr-xr-x. 2 root root  6 May  9 17:01 pvc-8ceef78d-bdaa-4503-9012-4844b9ce3739
drwxr-xr-x. 2 root root 61 May  9 17:09 snapshot-462e5866-3c10-4201-8c5b-c3e5fd68af3b
[root@controller-node-1 data]# ls pvc-8ceef78d-bdaa-4503-9012-4844b9ce3739/
[root@controller-node-1 data]# ls snapshot-462e5866-3c10-4201-8c5b-c3e5fd68af3b/
pvc-8ceef78d-bdaa-4503-9012-4844b9ce3739.tar.gz

安装 postgres

安装 postgres-operator

# git 仓库
https://github.com/zalando/postgres-operator.git
 
# 添加 pg 的 helm repo
helm repo add postgres-operator-charts https://opensource.zalando.com/postgres-operator/charts/postgres-operator
 
# 安装 pg-operator
helm install postgres-operator postgres-operator-charts/postgres-operator
 
# 添加 postgres-operator-ui helm repo
helm repo add postgres-operator-ui-charts https://opensource.zalando.com/postgres-operator/charts/postgres-operator-ui

安装 postgres-operator-ui

# 安装 postgres-operator-ui
helm install postgres-operator-ui postgres-operator-ui-charts/postgres-operator-ui

# 检查
[root@tf1-dameile-master01 ~]# kubectl get pod
NAME                                    READY   STATUS              RESTARTS   AGE
csi-nfs-controller-dd44dfcd8-x9286      4/4     Running             0          39m
csi-nfs-node-44d7n                      3/3     Running             0          39m
csi-nfs-node-d2lxx                      3/3     Running             0          39m
postgres-operator-6f4676896-7bpxp       1/1     Running             0          4m48s
postgres-operator-ui-5d459c969b-68qk2   0/1     ContainerCreating   0          3s
 
# operator-ui-svc
[root@tf1-dameile-master01 postgres-operator]# kubectl get svc
NAME                   TYPE           CLUSTER-IP      EXTERNAL-IP   PORT(S)          AGE
kubernetes             ClusterIP      10.233.0.1      <none>        443/TCP          22d
postgres-operator      ClusterIP      10.233.1.227    <none>        8080/TCP         140m
postgres-operator-ui   NodePort       10.233.20.199   <none>        80:30537/TCP     135m
 
# 如果镜像 pull 很慢,可以切换成国内镜像站
ghcr.io/zalando/postgres-operator:v1.13.0
ghcr.io/zalando/postgres-operator-ui:v1.13.0 # ghcr.io 替换为 ghcr.m.daocloud.io

通过 postgres-ui 安装 pg-cluster

  • new-pg-cluster-conf01
  • new-pg-cluster-conf02

检查 pg-cluster 状态、并创建 core 数据库

# 检查 pg 运行状态
kubectl get postgresqls.acid.zalan.do
NAME           TEAM   VERSION   PODS   VOLUME   CPU-REQUEST   MEMORY-REQUEST   AGE   STATUS
pg-cluster01   acid   16        2      20Gi     100m          100Mi            60m   Running

kubectl get pod
NAME                                        READY   STATUS             RESTARTS      AGE
csi-nfs-controller-dd44dfcd8-x9286          4/4     Running            0             3h47m
csi-nfs-node-44d7n                          3/3     Running            0             3h47m
csi-nfs-node-d2lxx                          3/3     Running            0             3h47m
pg-cluster01-0                              1/1     Running            0             25m
pg-cluster01-1                              1/1     Running            0             18m
 
# 检查 pg 密码、需要 base64 -d 解密
kubectl get secrets postgres.pg-cluster01.credentials.postgresql.acid.zalan.do
NAME                                                         TYPE     DATA   AGE
postgres.pg-cluster01.credentials.postgresql.acid.zalan.do   Opaque   2      69m
 
# 创建 pg core db 给 harbor 使用
kubectl exec -it pg-pod /bin/bash
psql -U postgres
\list # 查看数据库列表
create database core;

安装 redis-sentinel

添加 redis 的 repo

helm repo add ot-helm https://ot-container-kit.github.io/helm-charts/
"ot-helm" has been added to your repositories

安装 redis-operator

# 安装
helm upgrade redis-operator ot-helm/redis-operator --install

# 替换为国内镜像源
ghcr.io/ot-container-kit/redis-operator/redis-operator:v0.19.0
ghcr.m.daocloud.io/ghcr.io/ot-container-kit/redis-operator/redis-operator:v0.19.0

helm 部署 redis 哨兵模式

helm upgrade redis-sentinel ot-helm/redis-sentinel --install

cr 编排文件部署

---
apiVersion: v1
kind: Secret
metadata:
  name: redis-secret
data:
  password: RGFvY2xvdWQtMTIzJTBB # redis 密码中不支持带有 @ 符号
type: Opaque
---
apiVersion: redis.redis.opstreelabs.in/v1beta2
kind: RedisReplication
metadata:
  name: redis-replication
spec:
  clusterSize: 3
  kubernetesConfig:
    image: quay.io/opstree/redis:v7.0.12
    imagePullPolicy: IfNotPresent
    redisSecret:
      name: redis-secret
      key: password
  storage:
    volumeClaimTemplate:
      spec:
        storageClassName: nfs-csi # 不写就会使用默认的 storageclass
        accessModes: ["ReadWriteOnce"]
        resources:
          requests:
            storage: 1Gi
  redisExporter:
    enabled: false
    image: quay.io/opstree/redis-exporter:v1.44.0
  podSecurityContext:
    runAsUser: 1000
    fsGroup: 1000
---
apiVersion: redis.redis.opstreelabs.in/v1beta2
kind: RedisSentinel
metadata:
  name: redis-sentinel
spec:
  clusterSize: 3
  podSecurityContext:
    runAsUser: 1000
    fsGroup: 1000
  redisSentinelConfig:
    redisReplicationName: redis-replication
  kubernetesConfig:
    image: 'quay.io/opstree/redis-sentinel:v7.0.7'
    imagePullPolicy: IfNotPresent
    resources:
      requests:
        cpu: 101m
        memory: 128Mi
      limits:
        cpu: 101m
        memory: 128Mi

检查 redis 运行状态

kubectl get pod | grep redis
redis-operator-865fcf65ff-dt52n                       1/1     Running                  0                3h35m
redis-replication-0                                   1/1     Running                  0                18m
redis-replication-1                                   1/1     Running                  0                12m
redis-replication-2                                   1/1     Running                  0                12m
redis-sentinel-sentinel-0                             1/1     Running                  0                109s
redis-sentinel-sentinel-1                             1/1     Running                  0                2m39s
redis-sentinel-sentinel-2                             1/1     Running                  0                4m18s

安装 harbor

添加 repo

# 添加 harbor repo
helm repo add harbor https://helm.goharbor.io
 
# 解压 harbor 到本地、而非在线安装
helm fetch harbor/harbor --untar
 
# 编辑 values.yaml
cd harbor && ll
总用量 248
-rw-r--r--.  1 root root    637 9月  29 10:51 Chart.yaml
-rw-r--r--.  1 root root  11357 9月  29 10:51 LICENSE
-rw-r--r--.  1 root root 193696 9月  29 10:51 README.md
drwxr-xr-x. 14 root root    220 9月  29 10:51 templates
-rw-r--r--.  1 root root  38747 9月  29 10:51 values.yaml

自定义 values.yaml 文件

# redis 配置段
redis:
  type: external
  external:
    # support redis, redis+sentinel
    # addr for redis: <host_redis>:<port_redis>
    # addr for redis+sentinel: <host_sentinel1>:<port_sentinel1>,<host_sentinel2>:<port_sentinel2>,<host_sentinel3>:<port_sentinel3>
 
    addr: "redis+sentinel: redis-sentinel-sentinel-headless.default.svc.cluster.local:26379" # 示例的写法貌似有问题,我后期手动更改了好多 configmap 和 secret,我后面删除了 redis+sentinel,upgrade 的时候不知道会不会覆盖我修改的配置,更新后检查一切正常
 
    # The name of the set of Redis instances to monitor, it must be set to support redis+sentinel
    sentinelMasterSet: "myMaster"
 
    # The "coreDatabaseIndex" must be "0" as the library Harbor
    # used doesn't support configuring it
    # harborDatabaseIndex defaults to "0", but it can be configured to "6", this config is optional
    # cacheLayerDatabaseIndex defaults to "0", but it can be configured to "7", this config is optional
    coreDatabaseIndex: "0"
    jobserviceDatabaseIndex: "1"
    registryDatabaseIndex: "2"
    trivyAdapterIndex: "5"
 
    # harborDatabaseIndex: "6"
    # cacheLayerDatabaseIndex: "7"
    # username field can be an empty string, and it will be authenticated against the default user
    username: ""
    password: "Daocloud-123"
 
    # If using existingSecret, the key must be REDIS_PASSWORD # 由于我们 redis-secret 里面的 key 不是它。所以这里我们用 password 的形式
    existingSecret: ""
 
# postgres 配置段
database:
  # if external database is used, set "type" to "external"
  # and fill the connection information in "external" section
  type: external
  external:
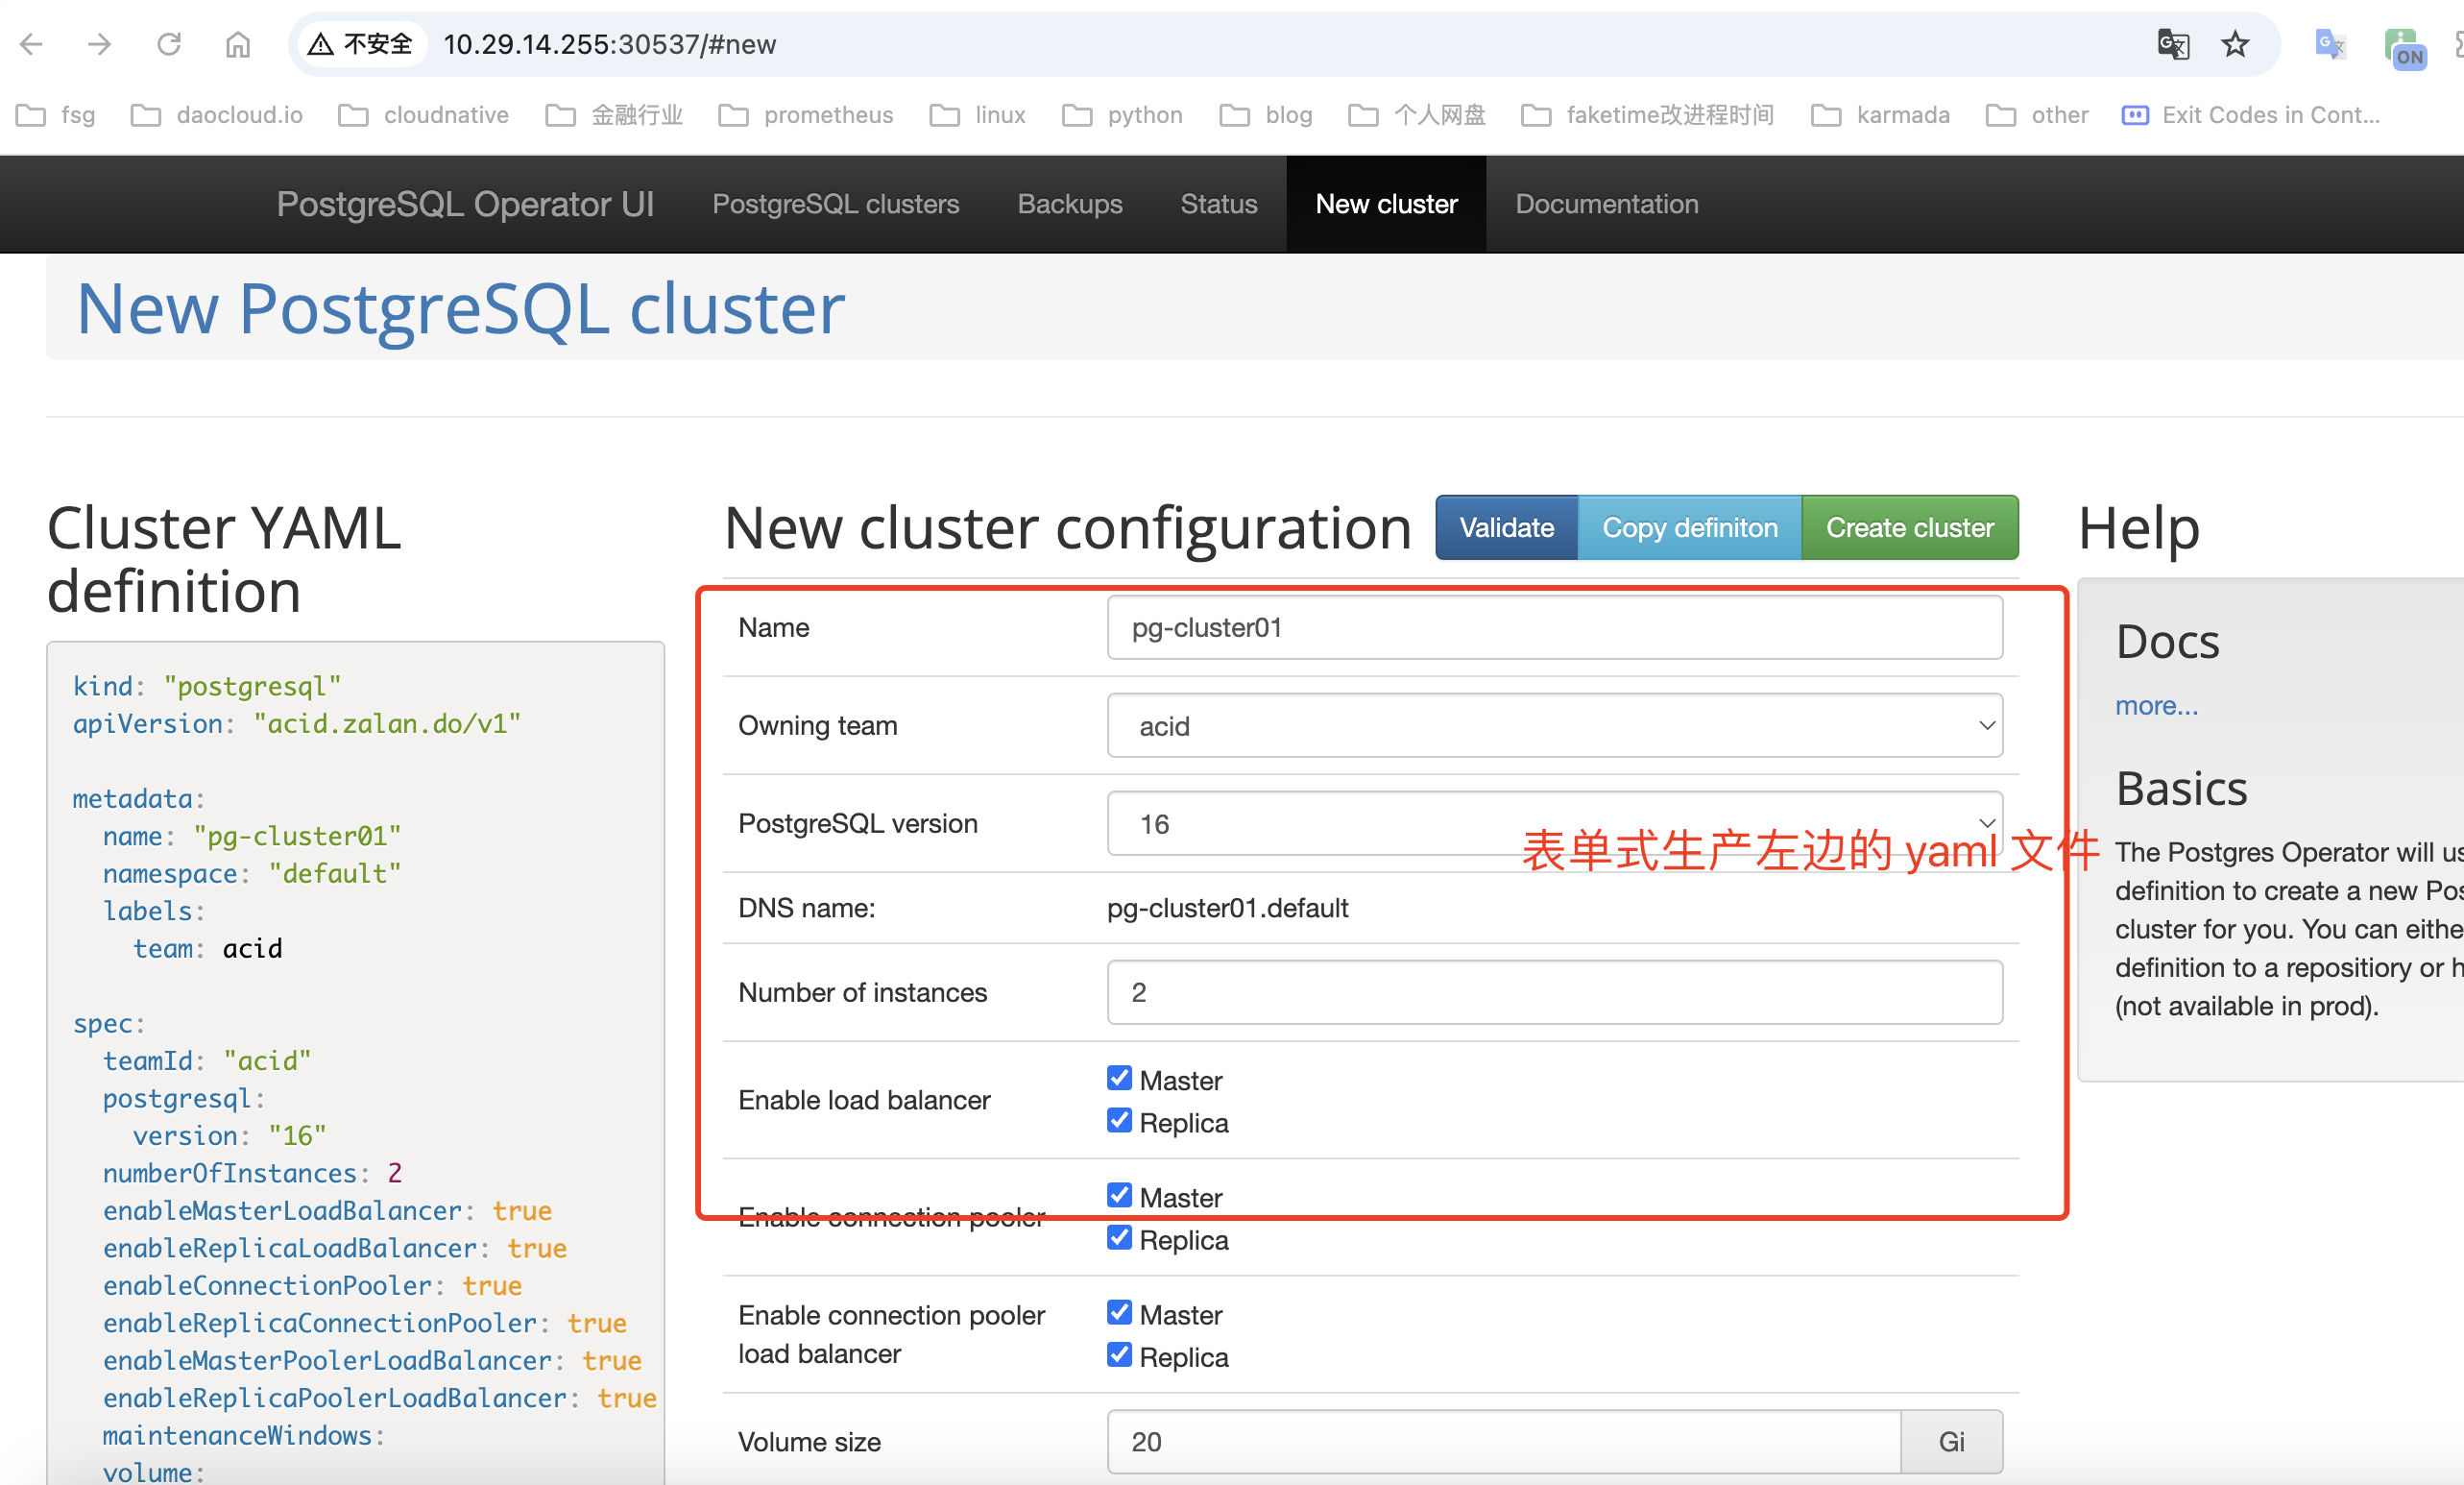
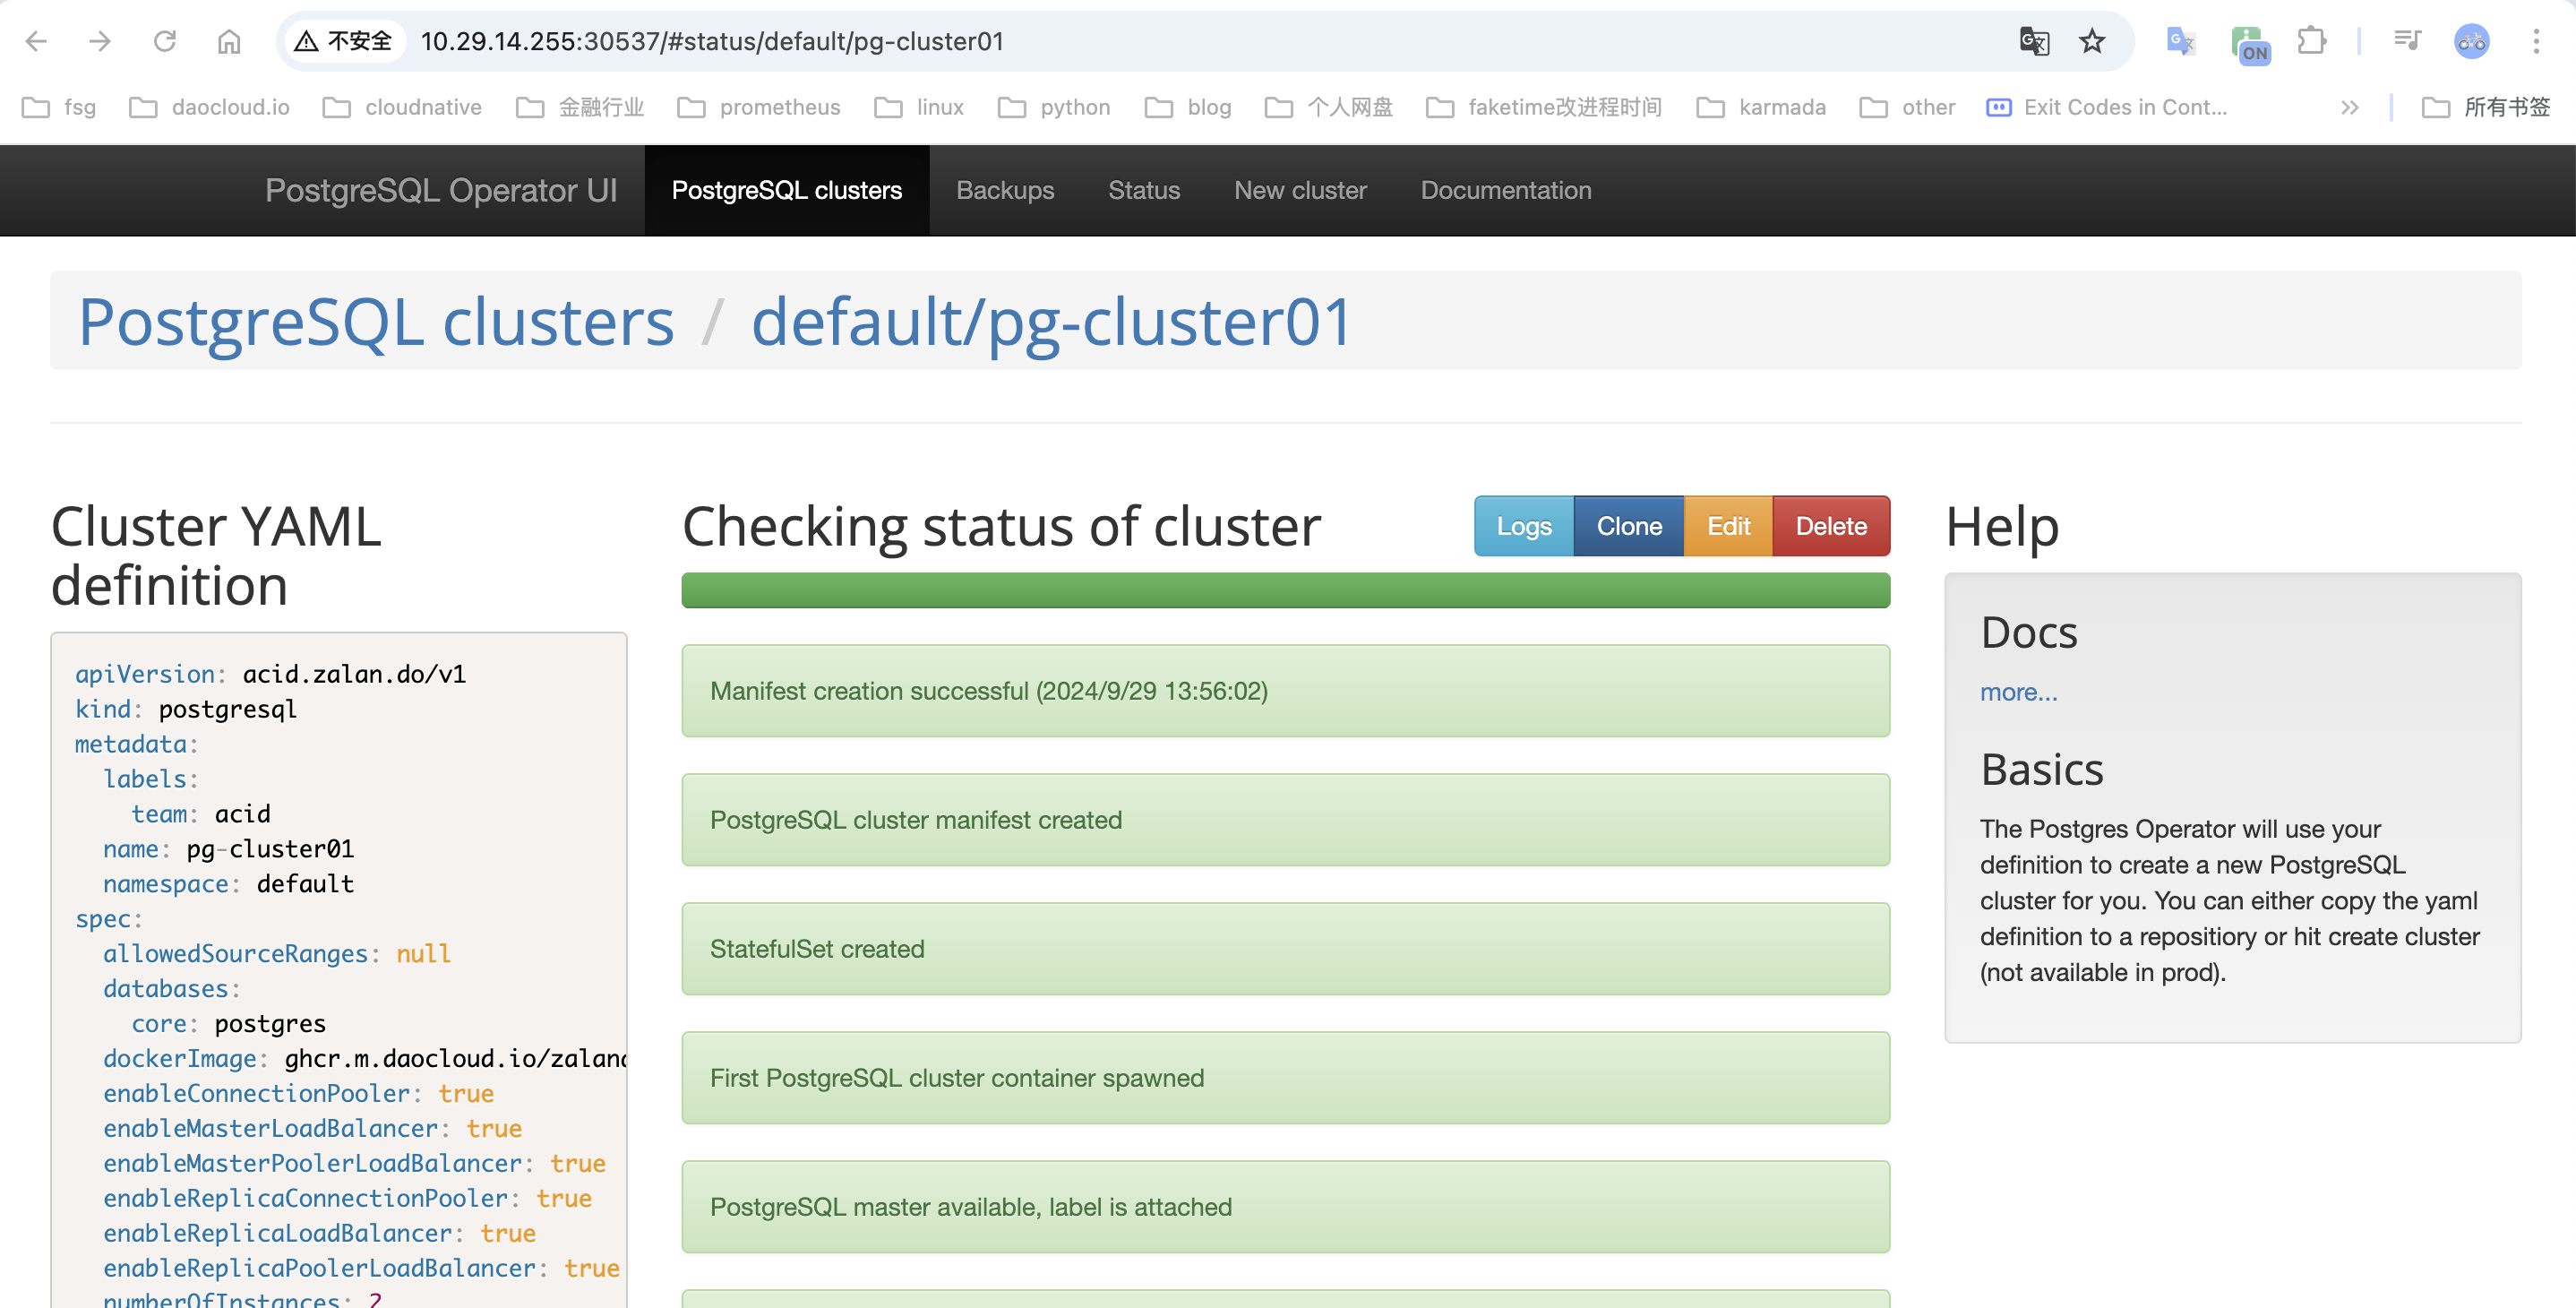
    host: "pg-cluster01.default.svc.cluster.local"
    port: "5432"
    username: "postgres"
    password: "M5Al5QLf966WrJ6ql6Zf0kV27Zqj2vLSCtzOLv9du2pej4UyV24jUoNlM8n76XdU" # 这里 harbor-core 的 configmap 也自定义了 POSTGRESQL_PASSWORD
    coreDatabase: "core"
 
    # if using existing secret, the key must be "password"
    existingSecret: ""
 
    # "disable" - No SSL
    # "require" - Always SSL (skip verification)
    # "verify-ca" - Always SSL (verify that the certificate presented by the
    # server was signed by a trusted CA)
    # "verify-full" - Always SSL (verify that the certification presented by the
    # server was signed by a trusted CA and the server host name matches the one
    # in the certificate)
    sslmode: "require" # 这里要改成 skip,否则 harbor-core 去连接 pg 时会报禁止该 pod 连接
 
  # The maximum number of connections in the idle connection pool per pod (core+exporter).
  # If it <=0, no idle connections are retained.
  maxIdleConns: 100
 
  # The maximum number of open connections to the database per pod (core+exporter).
  # If it <= 0, then there is no limit on the number of open connections.
  # Note: the default number of connections is 1024 for harbor's postgres.
  maxOpenConns: 900
 
# trivy 配置段
trivy:
  # enabled the flag to enable Trivy scanner
  enabled: false # 启用后,他会自动关联 redis 的配置
 
# expose 配置段
expose:
  # Set how to expose the service. Set the type as "ingress", "clusterIP", "nodePort" or "loadBalancer"
  # and fill the information in the corresponding section
  type: nodePort
 
# pvc 配置段
persistence:
  enabled: true
  resourcePolicy: "keep"
  persistentVolumeClaim:
    registry:
      existingClaim: ""
      storageClass: "nfs-csi"
      subPath: ""
      accessMode: ReadWriteOnce
      size: 5Gi
      annotations: {}
    jobservice:
      jobLog:
        existingClaim: ""
        storageClass: "nfs-csi"
        subPath: ""
        accessMode: ReadWriteOnce
        size: 1Gi
        annotations: {}
    database:
      existingClaim: ""
      storageClass: "nfs-csi"
      subPath: ""
      accessMode: ReadWriteOnce
      size: 1Gi
      annotations: {}
    redis:
      existingClaim: ""
      storageClass: "nfs-csi"
      subPath: ""
      accessMode: ReadWriteOnce
      size: 1Gi
      annotations: {}
    trivy:
      existingClaim: ""
      storageClass: "nfs-csi"
      subPath: ""
      accessMode: ReadWriteOnce
      size: 5Gi
      annotations: {}

安装 habor

# 安装
helm install harbor ./ 
 
# 检查 pod
[root@tf1-dameile-master01 harbor]# kubectl get pod | grep harbor
harbor-core-75764b69f8-8qk25                          1/1     Running                  0                66m
harbor-jobservice-67579b7c5c-76h5n                    1/1     Running                  0                63m
harbor-nginx-86c7b46658-vfrxr                         1/1     Running                  0                104m
harbor-portal-5c6d79654c-kspsm                        1/1     Running                  0                3h11m
harbor-registry-67f9bbb55d-6n8k6                      2/2     Running                  0                85m
 
# 检查 svc
[root@tf1-dameile-master01 harbor]# kubectl get svc | grep harbor
harbor                               NodePort       10.233.41.73    <none>        80:30002/TCP,443:30003/TCP   4h12m
harbor-core                          ClusterIP      10.233.24.137   <none>        80/TCP                       4h12m
harbor-jobservice                    ClusterIP      10.233.57.124   <none>        80/TCP                       4h12m
harbor-portal                        ClusterIP      10.233.37.110   <none>        80/TCP                       4h12m
harbor-registry                      ClusterIP      10.233.59.162   <none>        5000/TCP,8080/TCP            4h12m

更新 harbor

# get 并修改 externalURL
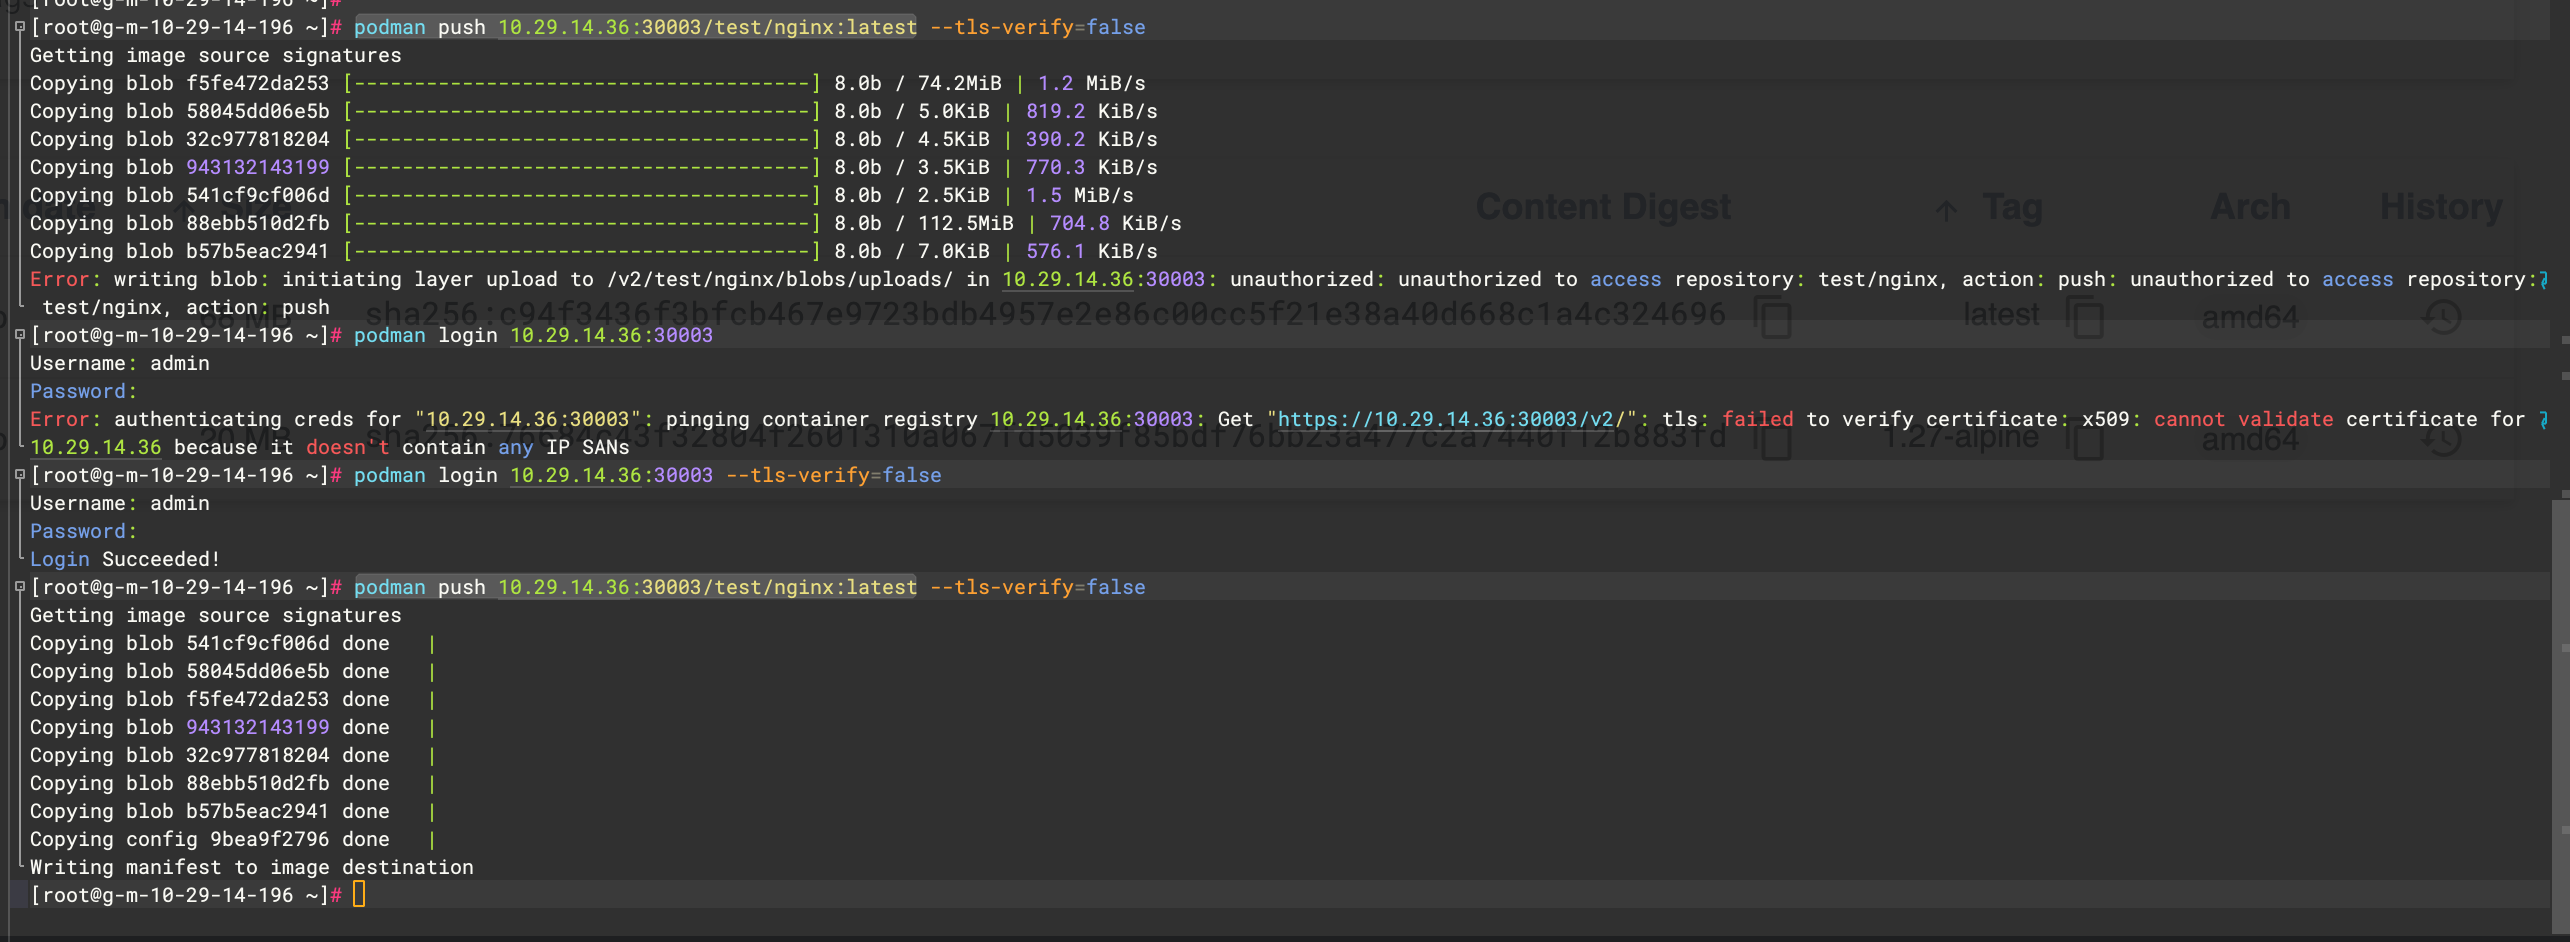
helm get values harbor -a > harbor-values.yaml
externalURL: https://10.29.14.36:30003

# 更新
helm upgrade harbor ./ -f harbor-values.yaml
 
Release "harbor" has been upgraded. Happy Helming!
NAME: harbor
LAST DEPLOYED: Fri Feb 14 16:25:09 2025
NAMESPACE: default
STATUS: deployed
REVISION: 3
TEST SUITE: None
NOTES:
Please wait for several minutes for Harbor deployment to complete.
Then you should be able to visit the Harbor portal at https://10.29.14.36:30003
For more details, please visit https://github.com/goharbor/harbor

访问 harbor

  • harbor-ui

  • push

参考链接